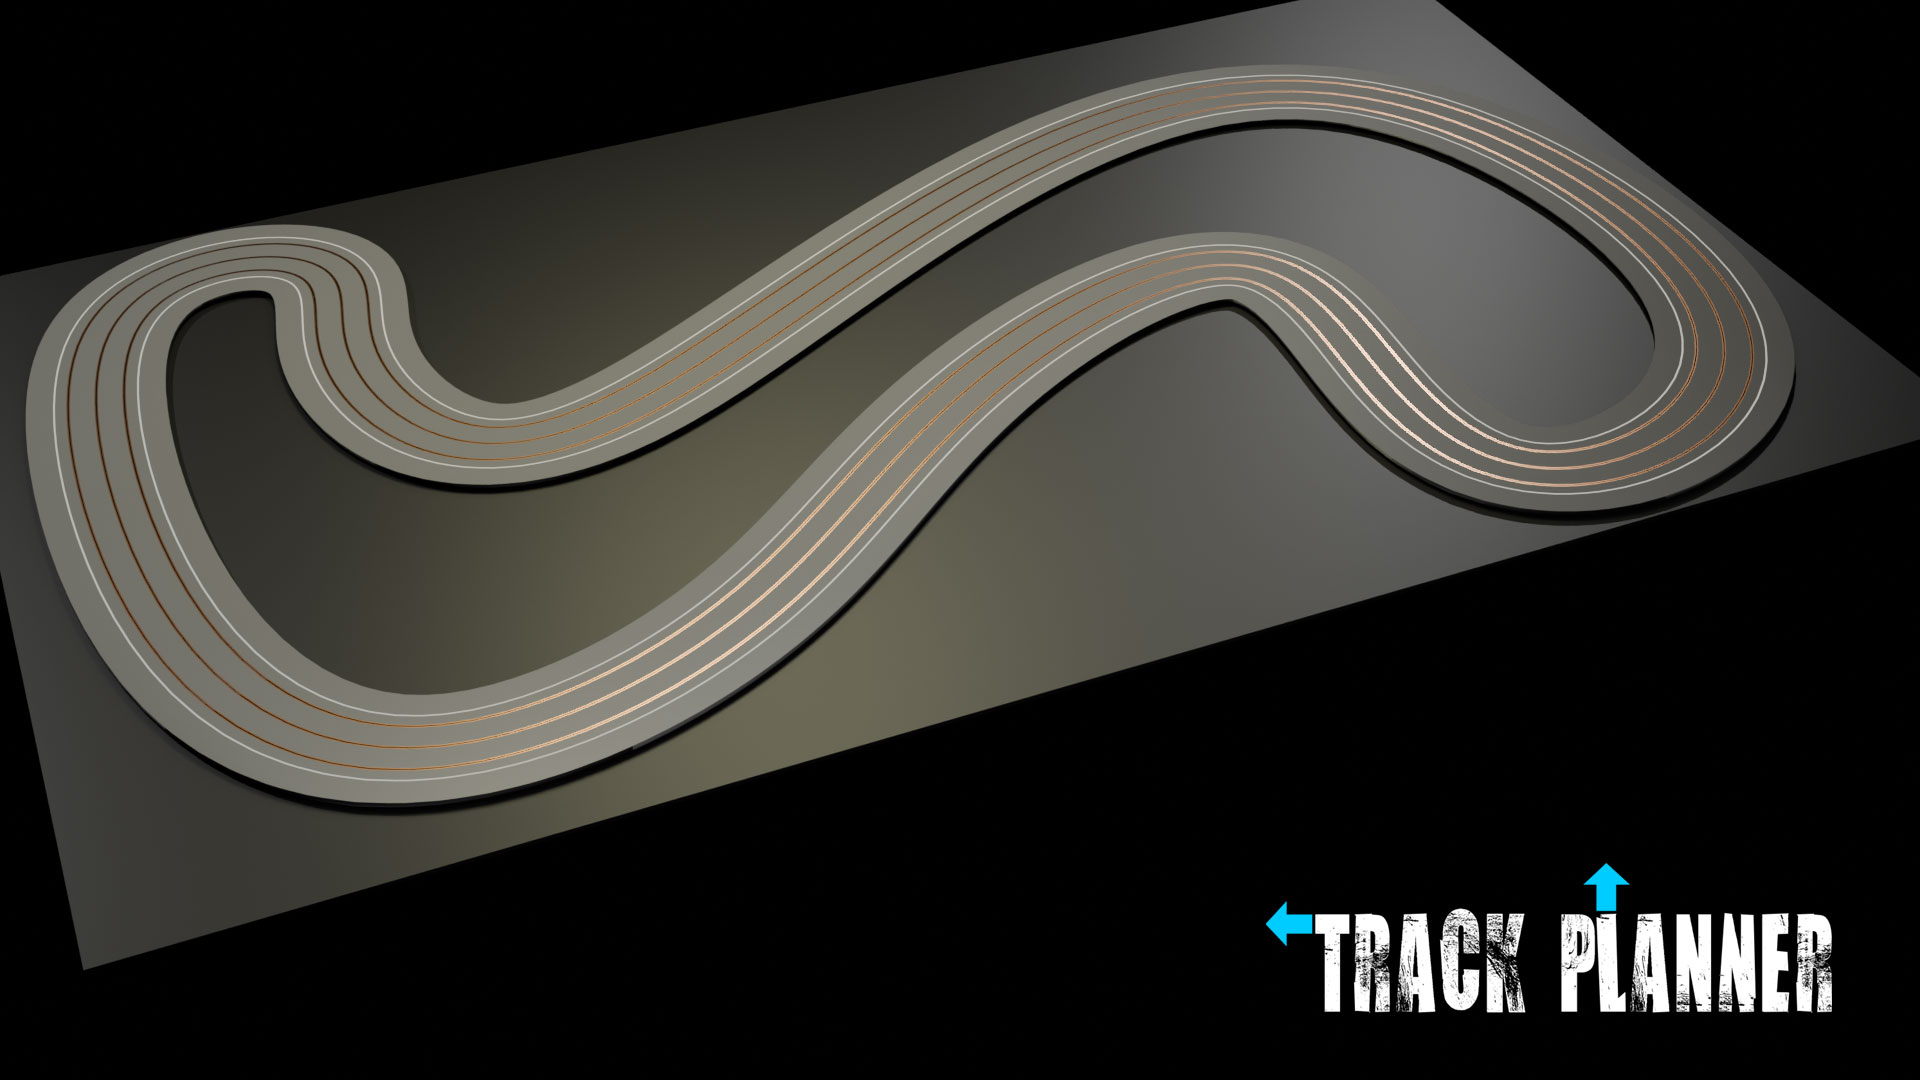
Rendering
In order to turn the 3d model of your track into a high quality image, we must render it using the camera and lights we already have set up in the Studio Collection as a default.
Rendering
Rendering is simply what Blender does to turn a 3D model into a high quality image, or render. You can check it out now just by tapping on your keyboard, or going to > from the top bar in Blender.
Rendering will take several minutes, depending on the complexity of the scene, so you might as well continue reading while the process takes place.
There are of course many settings you can alter if you so wish, but the Track Planner defaults are probably a decent enough place to start.
- In the area, the camera viewfinder icon will open the which provides options to change the render quality, by increasing the > . Higher values may render more slowly, lower values may reduce quality.
- Below that is a printer symbol which opens the , where you can set the size of the rendered image, the file type, and any associated compression and color Depth settings.
Studio
There is a "studio" already set up in the Track Planner file, with lights and cameras.
You won't have seen it in your viewport yet, as the Collection is set to be hidden in the viewport in order to keep it uncluttered.
Now might be a good time to switch it on, by clicking the screen icon next to the Collection in the .
In the collection are three spotlights, three area lights, and three cameras, but you may have to zoom out see them all.
When you select any of them a new icon will appear in the area, a light bulb or a film camera, depending what you selected. These allow you to change the strength and colour of each light, or the focal length of the camera, amongst many other things.
More importantly you may have to or the active camera and lights to get the shot you want.
It is important to understand that there is only one active camera in Blender, and that is what generates the camera view and the final render.
The active camera is shown by having a solid triangle above it, rather than a wireframe triangle. That is the camera which you need to adjust to change the view.
Alternatively, you could make another camera active with a right click, choosing from the menu.
Save Your Rendering
By default, Blender only saves your rendered image as a temporary file, so if you're happy with your image don't forget to save it by going to > in the Render Window.
