Navigation
In this section we'll take a look at navigating around the viewport.
If you've ever used Blender before, you can probably skip this page.
Navigation
So far we've had no real reason to look at the track from any other direction than directly down from the top, a plan view if you like.
At this stage though, we'll take a look at the Navigation Gizmo, and see how it can allow us to look at the track from any angle, and any distance.
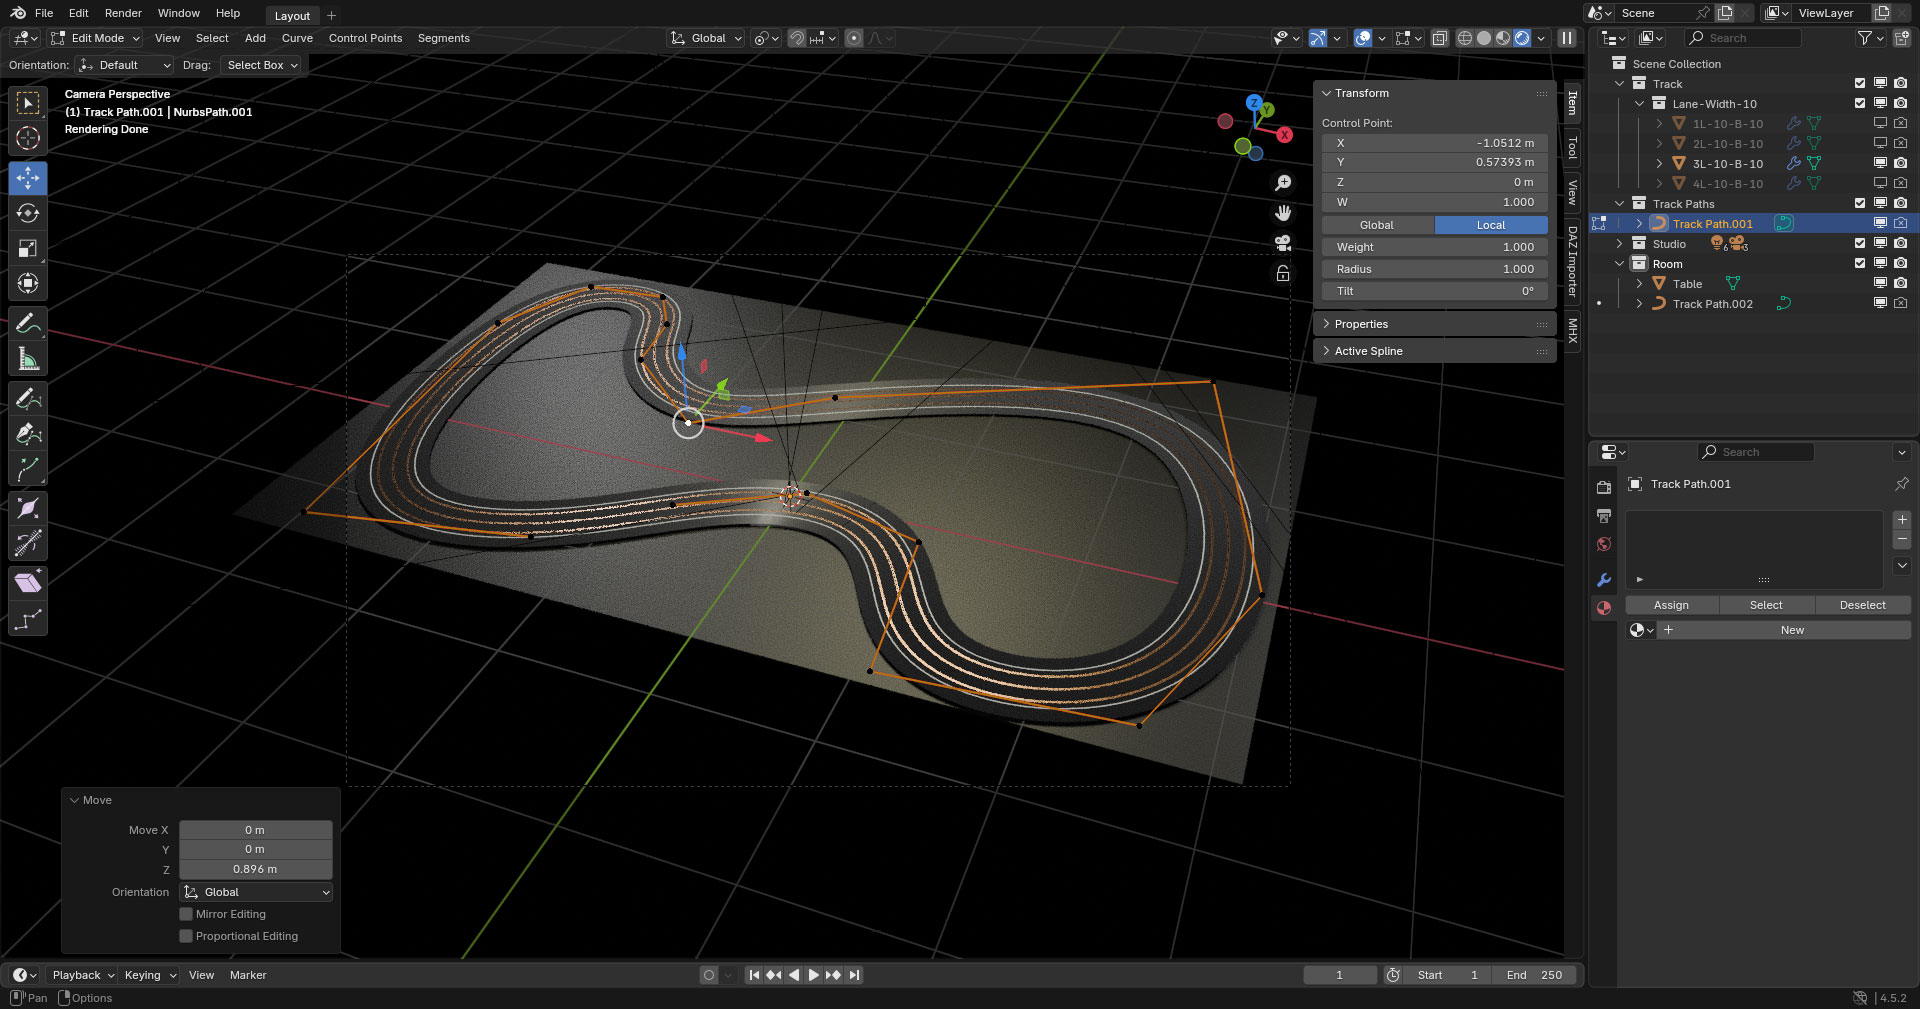
Navigation Gizmo
The Navigation Gizmo can be found at the top right of the Viewport.
The colourful Orbit gizmo at the top shows the current orientation of the view, and unless you've changed it, it should still show the Z-Axis at the centre of the gizmo, showing that we are looking down along the Z-Axis.
You can click on any of the axis labels to align the view to that axis, though there's not much to see, or do in the X-Axis or the Y-Axis.
More usefully, you can click and drag anywhere in the Orbit gizmo to orbit around the scene. This will give you a proper 3D view, and allows to see your track from any viewpoint.
Below that we have four buttons which also control the Viewport...
- A Zoom button, which you can click and drag to zoom in or out.
- A Drag button, which you click and drag to move the scene in any direction.
- A Camera button which toggles the Camera view on and off, which is what we'll see when we complete our render.
- The fourth button we can safely ignore for now.
Axes
The axes of the Navigation Gizmo and their red, green, blue colour coding is mirrored in the tools which we use, to assist with orientation.
Take the Move tool for instance, it has three arrows, with the same colour coding and the same orientation as the Navigation Gizmo.
When used individually, the arrows of the Move tool will move an object solely along one axis, without affecting the other axes.
But when you use the circle at the centre of the Move tool, you will be moving an object along more than one axis.
In a 3D view, you may well be moving an object along all three axes.