The Basics
Here we'll run through the basics of setting up and editing your track.
Familiarity with Blender will be helpful, but it isn't essential. We've simplified much of the user interface to avoid any unnecessary complications.
Setting Dimensions
If you have plans to make a routed slot track, then you probably have a limit on the size which you can make that track, so let's make the first job to set a table size to work with....
- Make sure you are in (dropdown top left).
- Click on the black rectangle in the main viewport, so it is highlighted with an orange outline. This is a simple board which we will set to your size.
- Open the by pressing n on your keyboard. The panel will open at the top right of the main viewport. Towards the bottom you will see the Dimensions are 6.6m x 4m x 0.0018m. Amend these to the dimensions of your table. We'll deal with different shapes later.
Note: Keyboard shortcuts can save a lot of time in Blender, but they are context sensitive to each area of the screen, so in the case of the shortcut, your cursor should be within the main viewport. Alternatively you can also drag the small arrow at the top right of the viewport to display the .
Now you've set your table size, all you need to do is keep your track within the bounds of the black rectangle.
Type of Track
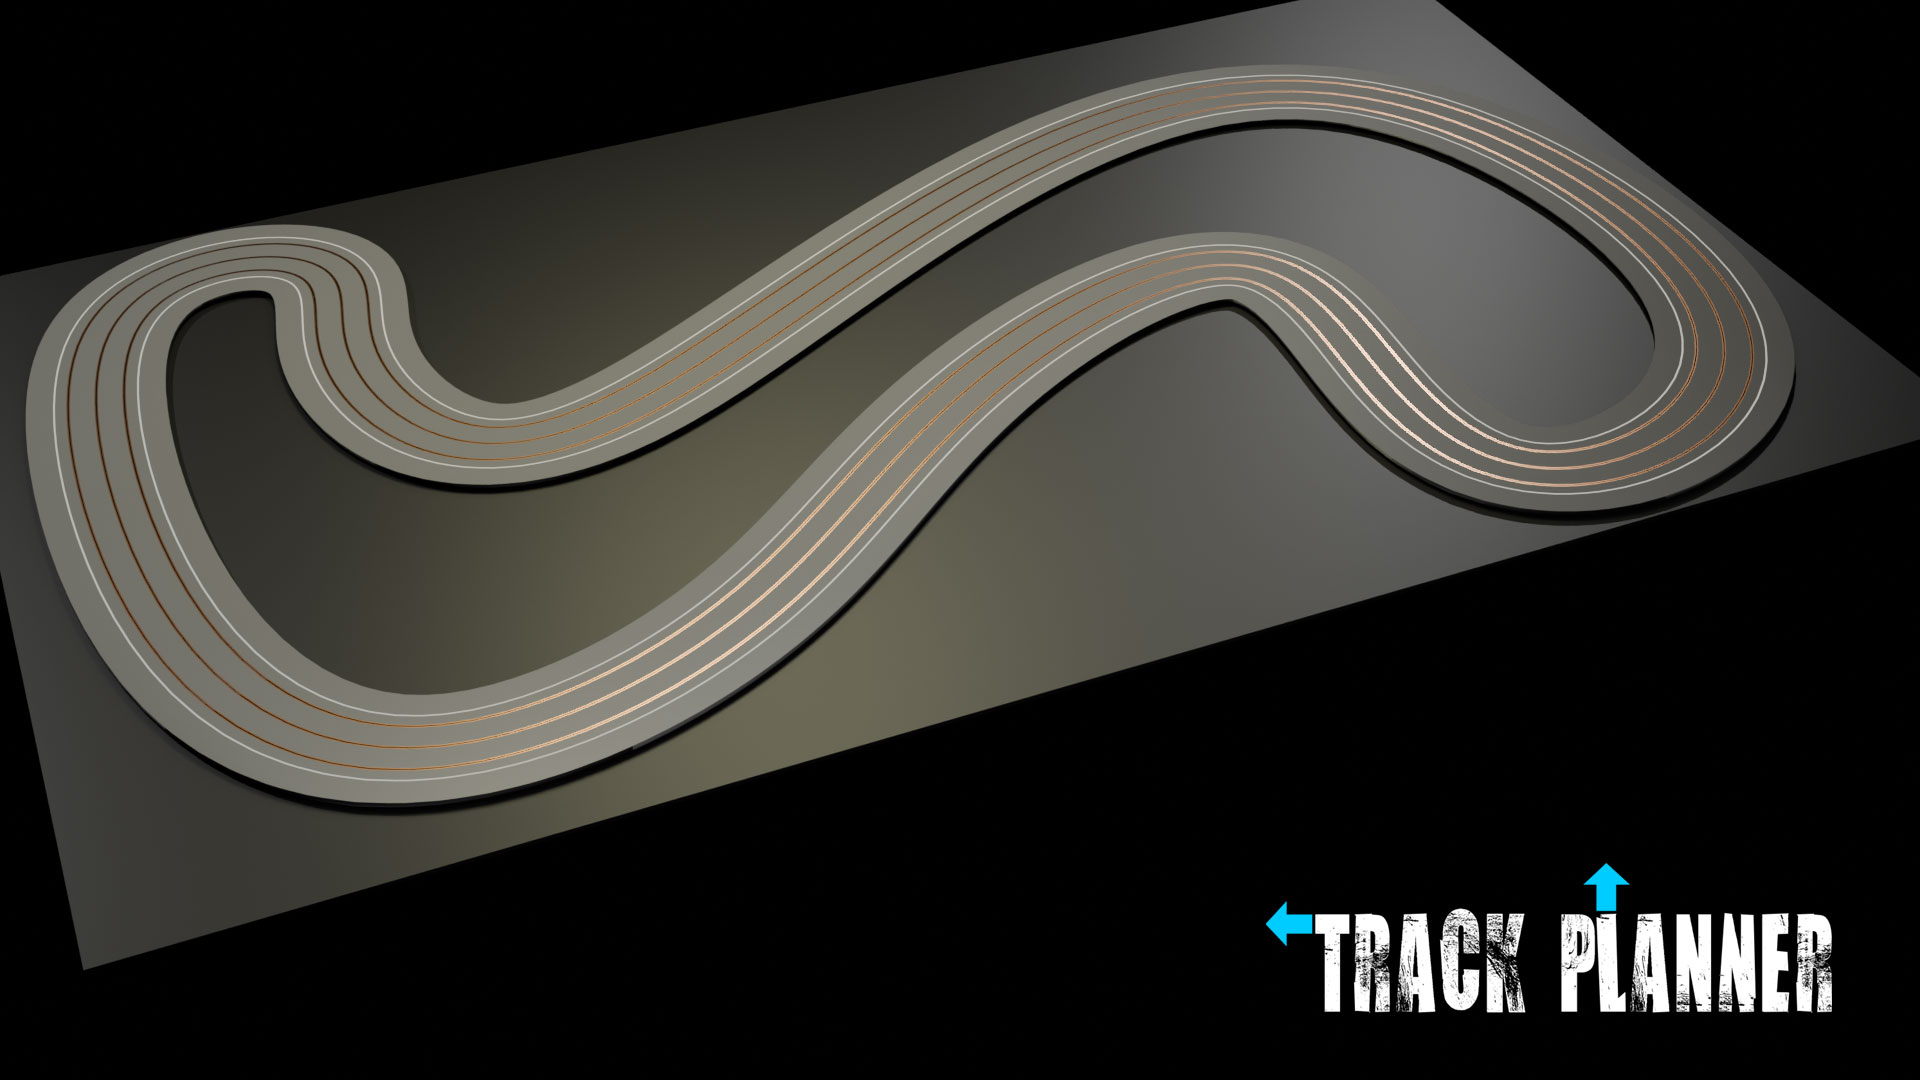
The default track when you first open Track Planner is a two lane layout with a 10cm (4") lane width and 5cm (2") borders. But obviously that is just one of many options, and the aim is to create a full set, for every known slot track configuration ever concieved.
Setting the Track Type
At this stage we need to go over to the top right area of the screen, the . Here you will find a list of every object currently available to you, organised into collections.
- Find the currently active track type, by expanding the Collection, and the Collection, and the Collection. The currently active track type will be highlighted, and is called . Those letters & numbers signify a two lane track, with 10cm lane widths and a border of 5cm, which is very similar to Carrera track.
- To the right of the name are visibility selectors. There is a small computer screen symbol which toggles whether you can see the track in the main viewport, and a small camera icon which toggles whether it appears in the big, posh rendered image when we get to the end of this process. Switch them both off.
- Then choose the type of track you want. If you want to make a three, or four lane track, simply toggle the visibility of , or . More options will be available in the near future.
Editing Your Track
No matter which track type you choose, they are all linked to, and controlled by the .
Actually the track path is where we started, a simple set of orange lines and black dots, but we'll need to find it again, to adapt and edit your track layout.
You'll find it listed in the collection of the .
Select then go to the top left of your screen to switch to from the dropdown.
You should now see the orange lines and black dots, which you will have seen when you first opened Track Planner. The dots are .
Control Points
- You can move one or more by slecting the tool from the on the left of the . Select the you want to move, then click drag to move.
- You can delete by selecting them, pressing the key on your keyboard, and choosing from the pop-up.
- You can add by selecting two or more points, right clicking and choosing from the pop up menu.
- Another method for adding is to select the furthest anti-clockwise point before the orange line ends, then press e on your keyboard.
Note: In Blender there are often several ways of doing the same thing. There may be keyboard short cuts, there may be menus available, and there be right click pop-up menus. It's beyond the scope of this guide to list every option, I've simply picked the one I've found convenient.
As you edit your track, you may find that a gap opens up meaning that the track isn't a closed loop.
Don't worry we'll deal with that on the Finishing page.
