


- Forum posts: 48,459
- Forum threads: 5,012
- Members: 1,694
- Latest member: DutchKing 66
Upcoming Events
WHO Autumn Stages - 28th-Oct-26
WHO Nascar - 4th-Nov-26
NSCC Leatherhead Swapmeet - 8th-Nov-26 ( - {4})
WHO Tin Top Saturday - 14th-Nov-26
WHO Test & Fun Night - 18th-Nov-26
WHO F1 - 2nd-Dec-26
WHO Tin Top Saturday - 12th-Dec-26
Swindon Swapmeet - 10th-Jan-27

Just trying to get some feedback as to whether people would be interested in movie figures for their track or dioramas.
My immediate though is Marty McFly and Doc Brown to go with the new DeLorian?
These would be high detail resin printed 3D figures ready to prime and paint, price estimate £7 each plus P&P I would also look at optional extras to ho with the figures and dioramas.
This would be avilable through C&C Designs.
Thanks for reading and any feedback.
Regards
Colin


Firstly am doing this for the first time all from my phone. Have always been convinced my old Nikon was the way to go but with the quality of current camera phones thought I would give it a shot.
I managed to pick up a model kit a few years ago so it sat for a while as I knew so much work needed doing.
I ground off the front bumper completely, fit an original homeset chassis ( it did not come out with this chassis) and then convert to the 53 lemans car. Not completely finished but this is progress so far.
I had to add aluminium tonneau, cut radiator for added spotlight and cut the driver to fit - so now have a 1 legged driver ?
I built this one several years ago, and while some of the "senior" members may have seen it, perhaps some of the newer folks have not.
While far from the quickest car I have, it is certainly one of my favourites.
Cheers
Chris Walker
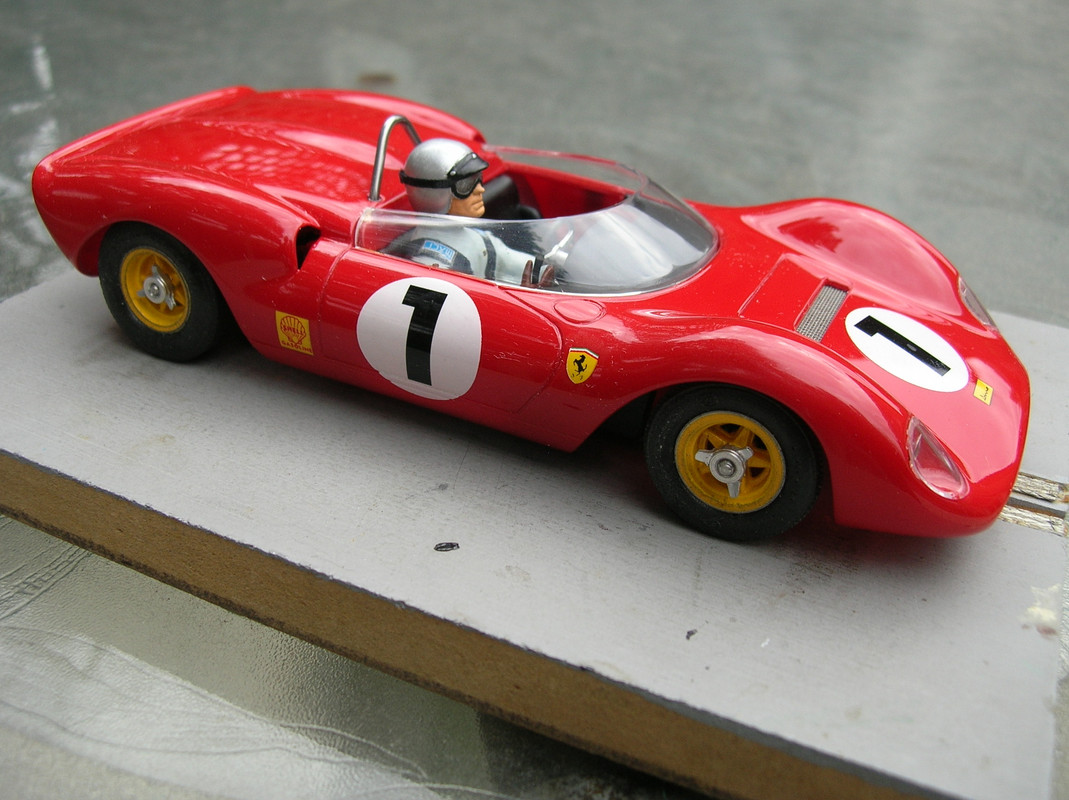
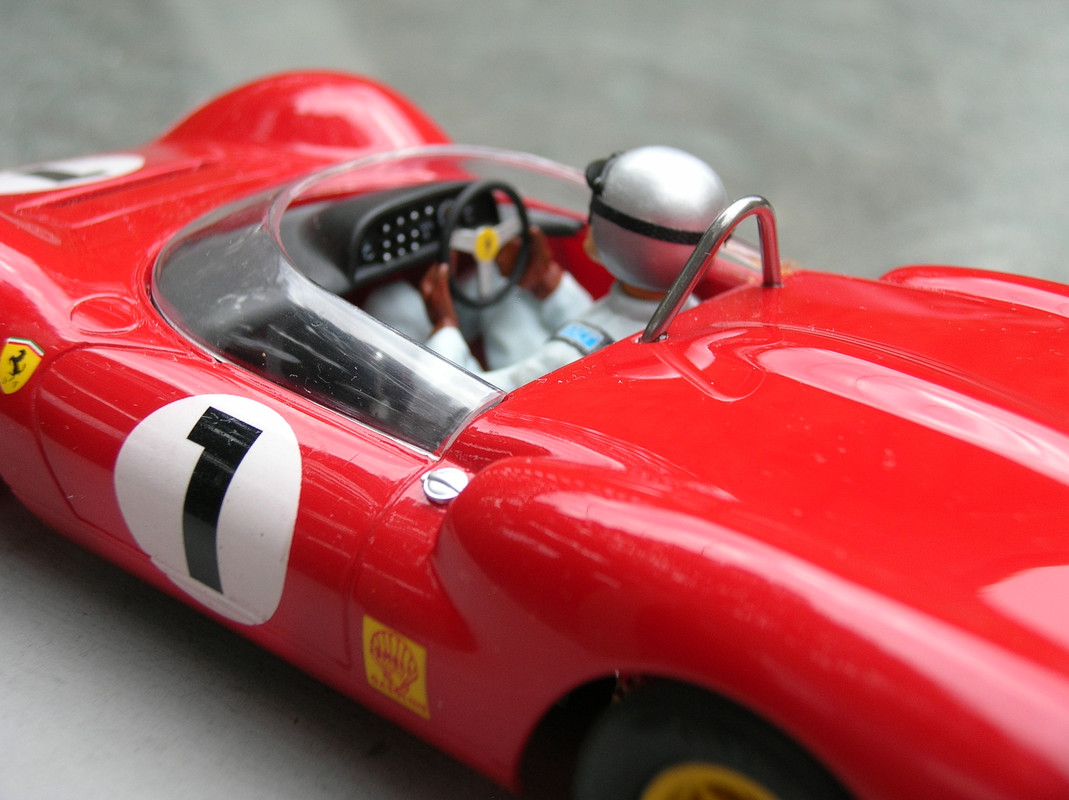
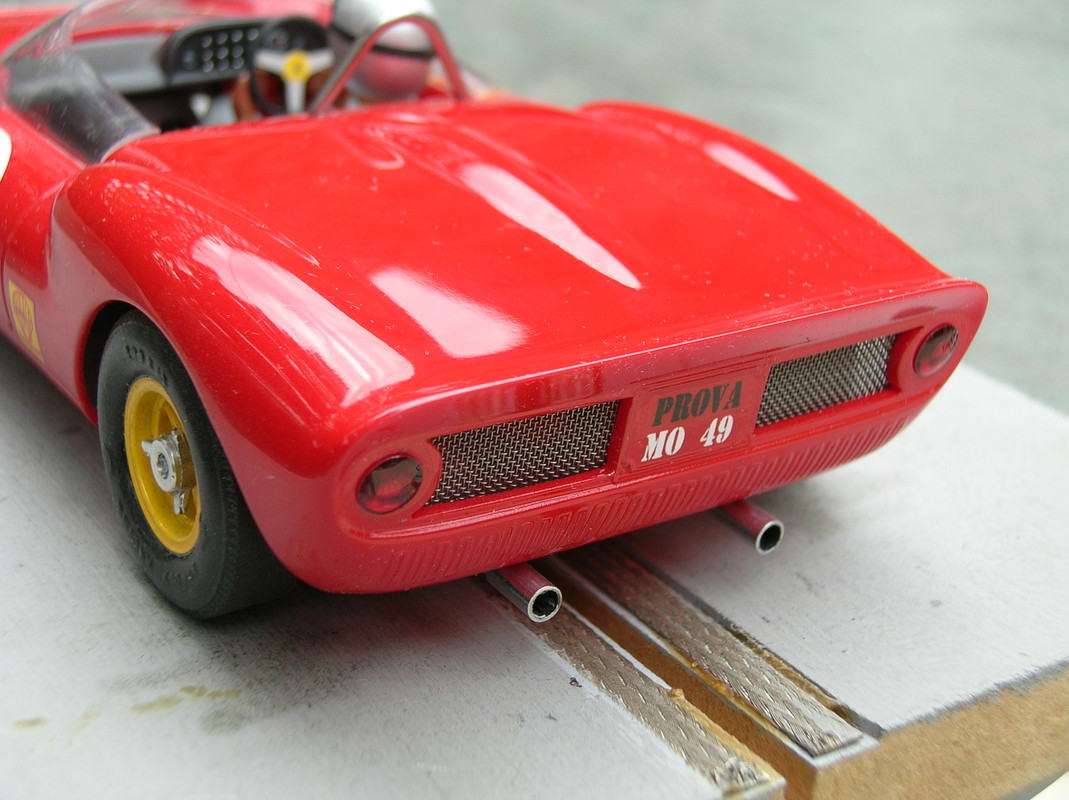
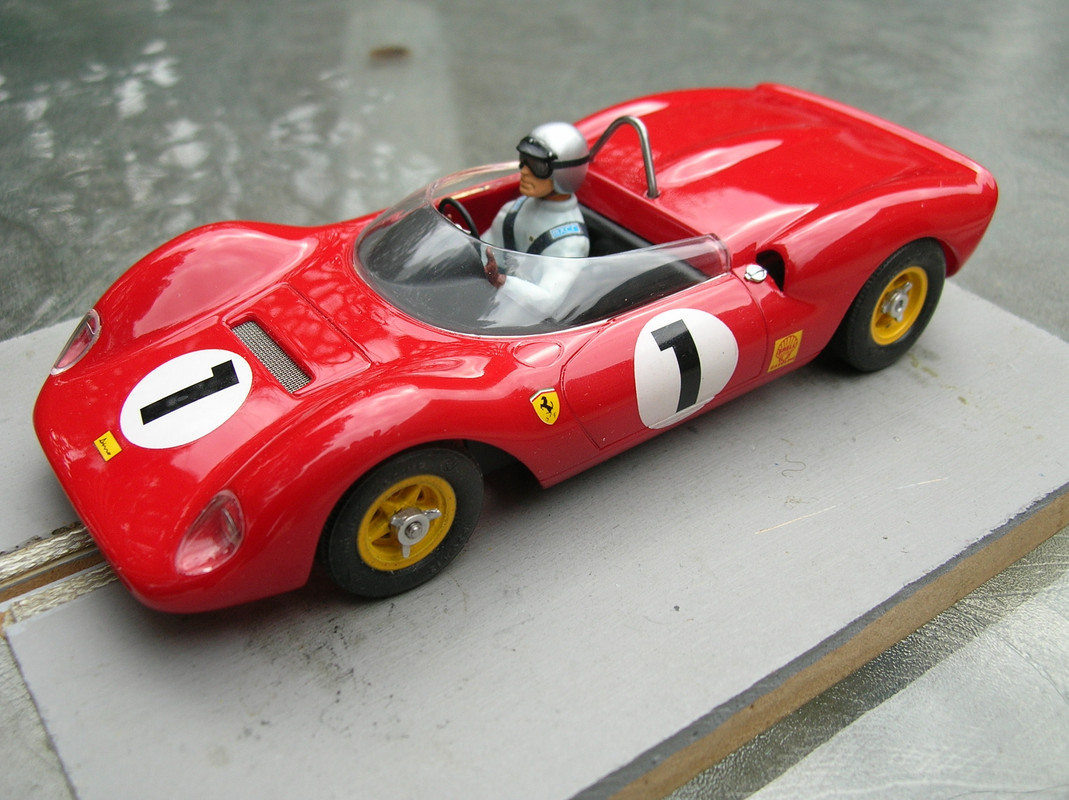


Hi anybody got any ideas where I can get a couple of old school motor/ axle brackets in the UK please ,or if anyone has a spare I can purchase 
Steve

Build photos of 4 F1 cars, warts and all (okay, most of the warts are still featured)
https://postimg.cc/gallery/sgjTnDz
Mark
#12 is a vintage AMT. Runs great with the totally inappropriate rear sillies. The white car is a model conversion I recently completed. So fun to watch these big bangers running on my Carerra layout.
Picked this up recently. Only needed a set of decals...
Finishing up this build. Vintage Lancer 1/32 body and Atlas chassis. Decals by Indycals.
I've been dabbling in scratch building for about a decade. I also enjoy participating in proxy racing series which is pretty much a necessity when you live in Big Sky Country. My preferred builds are vintage Formula One cars, usually from the early to mid sixties. All in 1/32 scale.
Regards,
Mark

Sideways BMW M6 GT3 white kit

Announced in dec 2015 in a Christmas greeting on FB, restarted twice with 3 different 3D designers, the long awaited Bavarian GT3 racer from French company Sideways International has finally become available to the slotrace community. As has become custom with many manufacturers, the first available iteration of the BMW M6 GT3 has been released is in the form of a white kit.
Meaning that it is up to you slotracers to transform the kit below left...into the slot car on the right.
Time for a first hand review.

Unfortunaltely its taking me a bit longer than usual, lots of photo's to make of very small detail parts.
And all that with an smartphone...one in ten has the right focus...its a long process.
But as the kits are being delivered right now I thought it would be best to post the most important bits, a kind of preview of a later more complete edited post.
Test fitting the white kit.
Sideways use the standard pin and peg method to assemble their slot car bodies. So the first thing you need to do is take out a rat tail file and check and enlarge all the holes in the detail parts.
They're a bit too tight, specially the painted parts. Enlarge the holes so that the parts will slide over the plastic body pins easily.
You'll be doing a lot of Test fitting, you don't want the pins to break off the first time you remove the part.

Take Stock
Check if all the parts are included in your kit. In my set the chrome lenses for the foglight were missing, and as you can see in the picture left below..I got two left side top intakes.
This only became visible once I started test fitting, it looks like they fit, but you can see that there's a gap between the body and the intake if you mount them the wrong way.

Check your chassis
Once you done your checks and first test fitting I noticed that my chassis was slightly warped, not much but enough to prevent the body from sitting flat and square on the chassis..so....

Time to give the chassis a bath... I added the rear chassis grub screws to prevent the chassis from sagging in the hot water. Its important to keep this part straight and level.

Check for Flash and burrs
Like a model kit all the seperate parts have been cut manually from trees with multiple injection moulded parts.
So just like on a modelkit each part can have excess material that needs to be trimmed to make them fit properly.
On my kit this was most noticeable on the bottom of the from and rear bumper. So check yours and trim where needed to make the body sit square and straight on your now perfectly flat chassis.

Wheel Inserts
Last but not least, the wheel inserts. As with the Huracan these are real gems, good proportions and sharp en defined details.
Too bad that Sideways had cut/broken all the inserts brutally from the sprue, as now all inserts had a dink in the outer rim, making them look like you've hit a curb in the parking lot 
Like on the Huracan, the M6 inserts are very deep and are meant to slide in the wheels. For the front wheels they fit perfectly, but for the rear wheels the fit is too tight.
Even if you try to push them in with brute force..you won't get them flush with the rim..and you'll also never be able to get them out again.
So a good tip here is to sand the outside surface of the rear inserts to reduce their diameter.
Secondly increase the inner diameter of the Insert tube to 3,8 - 4,0mm. I started with a 3,6 mm drill bit and increased by 0,1mm steps till the insert slides over the centre wheel hub.
Ok that's it for now, happy building guys

to be continued
With kind regards
Tamar