Posts: 817
Threads: 45
Likes Received: 2,159 in 653 posts
Likes Given: 2,310
Joined: Apr 2019
Location The Netherlands
Hi Tony and Anthony,
Let's start with some pictures of the construction process:

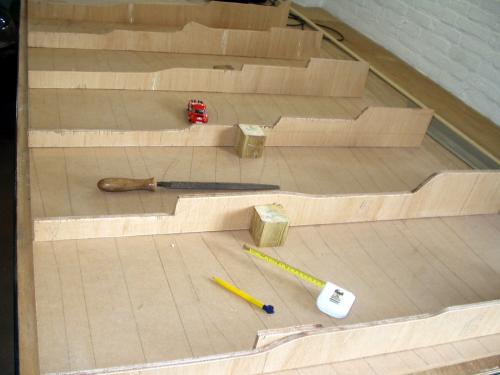
Drawing the track on two 8mm mdf plates 2.44mx1.22m. 2x6 times 10mm vertical multiplex base strips inside the outer frame.


The first outer track part is glued, screwed and clamped to the base frame. The first half of the entire track is glued, screwed and clamped.
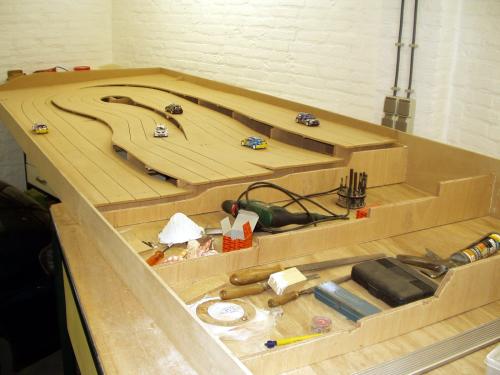
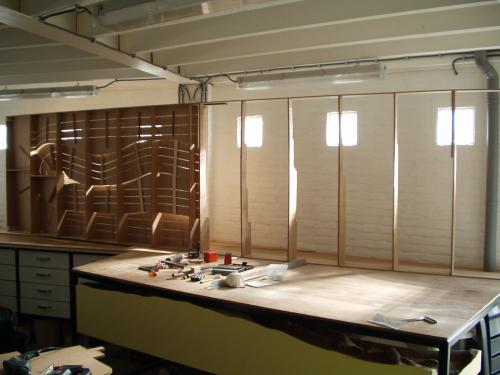
The second construction frame is glued and screwed against the first one. The unfinished track placed on its side.
As a result, the overall dimensions grew to 4.88mx1.22m.
(This post was last modified: 28th-Dec-21, 02:02 PM by
rallyhub.)
Posts: 384
Threads: 23
Likes Received: 510 in 191 posts
Likes Given: 715
Joined: Dec 2021
Location Cowplain, Hampshire UK
Thanks Hub,
really appreciate you sharing your process.
This is going to be fun reading.

![[+]](https://slotracer.online/community/images/bootbb/collapse_collapsed.png) •
•
Posts: 817
Threads: 45
Likes Received: 2,159 in 653 posts
Likes Given: 2,310
Joined: Apr 2019
Location The Netherlands
Here are some more photos of the construction process:

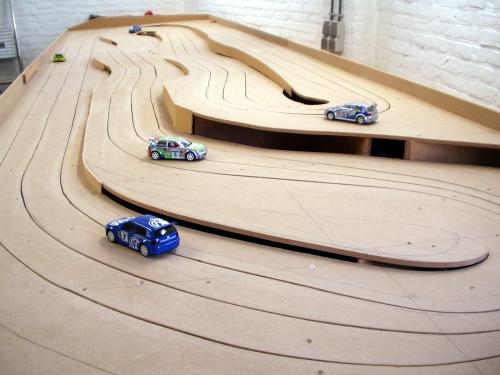
Only a small piece of track to fasten. Some walls added.


Filling and sanding. The making of ruin bend.
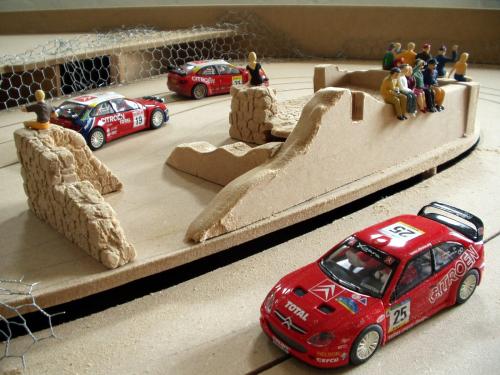
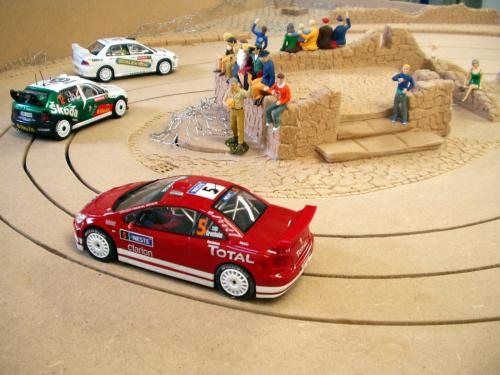
Ruin Bend taking shape. A castle was too high for the folding race track, so it became a ruin.
Posts: 384
Threads: 23
Likes Received: 510 in 191 posts
Likes Given: 715
Joined: Dec 2021
Location Cowplain, Hampshire UK
I like that ruin bend

, when I asked re how are you fixing your track so it doesn't move when folded away.
I had it in my head it was a scalextric track, off course it's a wooden one

red face emoji.
Still looking forward to seeing how you secure the scenery etc.
Keep the pics coming

![[+]](https://slotracer.online/community/images/bootbb/collapse_collapsed.png) •
•
Posts: 817
Threads: 45
Likes Received: 2,159 in 653 posts
Likes Given: 2,310
Joined: Apr 2019
Location The Netherlands
Posts: 817
Threads: 45
Likes Received: 2,159 in 653 posts
Likes Given: 2,310
Joined: Apr 2019
Location The Netherlands
Followed by the next six photos:
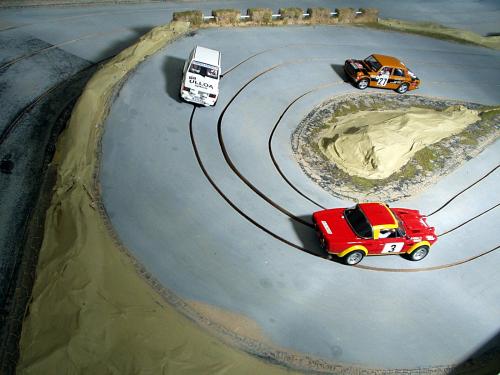

The paper mache is painted now. White paint on the horizon.

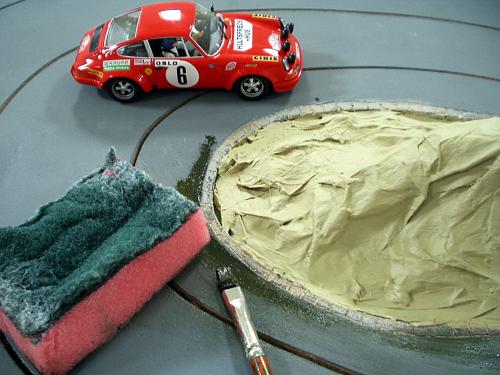
Finishing with a damped sponge. Painting dirt on the road.

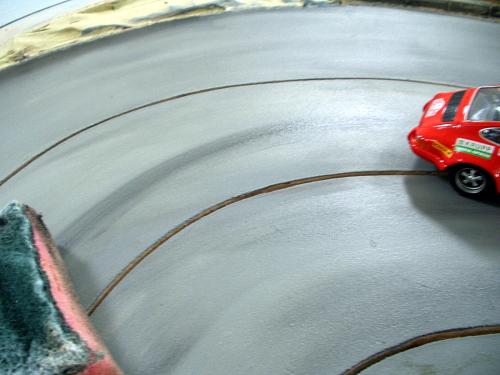
Tyre marks. The sponge in action again.
Posts: 817
Threads: 45
Likes Received: 2,159 in 653 posts
Likes Given: 2,310
Joined: Apr 2019
Location The Netherlands
Posts: 384
Threads: 23
Likes Received: 510 in 191 posts
Likes Given: 715
Joined: Dec 2021
Location Cowplain, Hampshire UK
Hi Hub,
with your wire mesh that you have used for structure on the mounds etc, have you tacked those to the base with a staple gun?
Enjoying seeing the pics.
![[+]](https://slotracer.online/community/images/bootbb/collapse_collapsed.png) •
•
Posts: 817
Threads: 45
Likes Received: 2,159 in 653 posts
Likes Given: 2,310
Joined: Apr 2019
Location The Netherlands
Hi Tony,
I nailed the mesh, but using a staple gun is also an option.


The finished track surface.
Posts: 384
Threads: 23
Likes Received: 510 in 191 posts
Likes Given: 715
Joined: Dec 2021
Location Cowplain, Hampshire UK
 2nd-Jan-22, 07:58 PM

looking good, keep em coming.
![[+]](https://slotracer.online/community/images/bootbb/collapse_collapsed.png) •
•


![[+]](https://slotracer.online/community/images/bootbb/collapse_collapsed.png)

 , when I asked re how are you fixing your track so it doesn't move when folded away.
 red face emoji.