25th-Jul-24, 09:32 AM
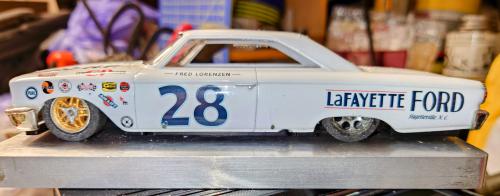
I bought a sad beatup Galaxie 500 with epoxied body mounts and a badly fitted chassis for what feels like an over inflated price but these don't come cheap.
After grinding out the offending infrastructure inside I started designing a 3D SW chassis.
These are big cars but not massively wide. After easing the wall thickness inside the wheel arches there's 59mm of room which is still going to be tight for a pair of 10mm wide tyres in sidewinder configuration in a plastic chassis (easy with a brass chassis}.
Phase one is print a test chassis and pod, you never get them right first time.
Offer the rolling chassis into the bodyshell and see what needs tweaking.
In this instance, not enough room for the SW spur and wheel...I'll fix that first.
Tin the rear axle, tap the axle through the spur gear to the right position, reheat the solder and put some in the grub screw holes, grind the spur gear boss back until the wheel slides on far enough to clear the inside of the wheel arch.
I do this because there's now no threaded holes for the grub screw, the gear won't move!
So far this is where I am, phase two is print a tweaked chassis, front axle needed moving back 1.5mm, the rear end lengthening 2mm and rotating upwards 4° then sills adding to the edges of the chassis to raise the body 1.5mm
This won't have my normal two body posts one at each end but four side mounts like a Revoslot.
The SW pod has an adjustable height axle and doesn't use normal bearings....
More updates on the coming days
...phase one with test wheels in the photo
Life is like a box of Slot cars...


![[+]](https://slotracer.online/community/images/bootbb/collapse_collapsed.png)
