Posts: 984
Threads: 112
Likes Received: 1,307 in 493 posts
Likes Given: 1,247
Joined: Apr 2019
Location Cambridgeshire
You Tube vids on setup watched, bed leveled and tested until within 0.1mm First test print is underway (provided little boat, using provided white PLA), wish me luck !
About 1h 45mins to go according to the screen.
(This post was last modified: 8th-May-23, 05:59 PM by
Savage GT.)
Posts: 4,502
Threads: 147
Likes Received: 3,052 in 1,810 posts
Likes Given: 4,195
Joined: Apr 2019
Location Isle of Man
I never once printed a benchy...
Life is like a box of Slot cars...


![[+]](https://slotracer.online/community/images/bootbb/collapse_collapsed.png) •
•
Posts: 984
Threads: 112
Likes Received: 1,307 in 493 posts
Likes Given: 1,247
Joined: Apr 2019
Location Cambridgeshire
Results are in:
Pretty pleased with it but there is supposed to be text on the underside, and the text on the back is not clear, but TBH nor is it that clear in the slicer.
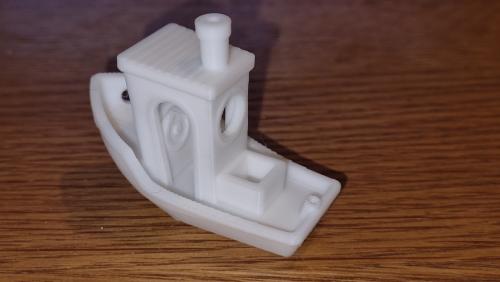
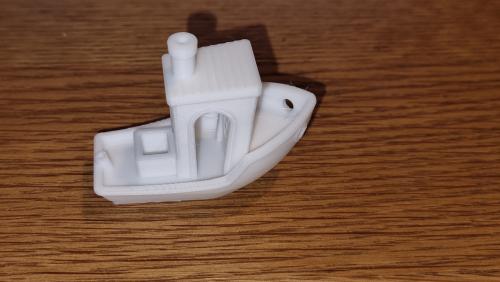
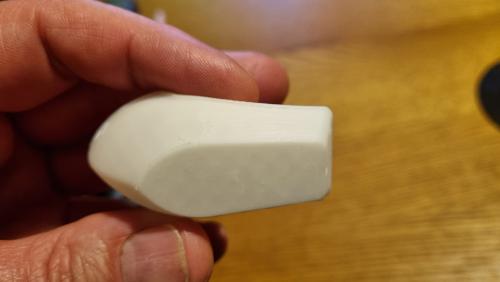
The file was locked so I couldn't alter anything, and the ones I have seen on you tube dont look any better unless the slicer settings were changed.
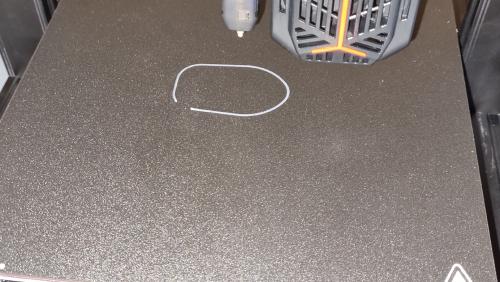
That doesn't worry me too much, but the outline print is very stuck on the magnetic plate does, flexing hasnt helped loosen it, and I didn't want to scrape too hard, any tips to remove ?
(This post was last modified: 8th-May-23, 08:02 PM by
Savage GT.)
Posts: 4,502
Threads: 147
Likes Received: 3,052 in 1,810 posts
Likes Given: 4,195
Joined: Apr 2019
Location Isle of Man
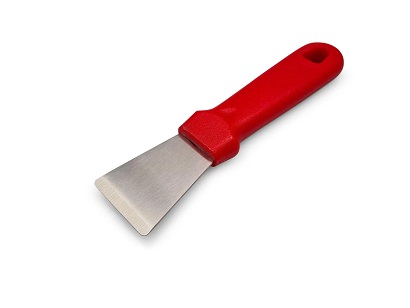
I use one of these...carefully, with the bevel upwards.
...I did stone the sharp edge off though

Life is like a box of Slot cars...
Posts: 984
Threads: 112
Likes Received: 1,307 in 493 posts
Likes Given: 1,247
Joined: Apr 2019
Location Cambridgeshire
Yes, I got one in the box, good tip about rounding the edges
Ill have to persevere with it, I didnt know if there was a tip like pour hot water on the removable plate, or maybe freeze it ...
•
Posts: 195
Threads: 5
Likes Received: 246 in 119 posts
Likes Given: 555
Joined: Dec 2021
Location MN, USA
Welcome to the rabbit hole....we like it here!
The Benchy looks pretty good. I find the outline peels pretty well once everything cools down and you flex the plate. Also, after several prints it will start to loosen up.
Don't write off bodies....there are ways.
•
Posts: 268
Threads: 31
Likes Received: 723 in 198 posts
Likes Given: 232
Joined: Apr 2019
Location London, UK
One trick to remove stuck prints is to use a Stanley knife blade gently pushed under one corner, this breaks the bond such that you can then get the scraper under. Did you use any PVA glue or just printed straight to the magnetic sheet? Warm water also works.
Your Benchy looks very good for a 1st attempt, these preset files are usually at 0.2mm layer height so running it at 0.1mm layer will show an improvement but double the time.
Secondly the missing text is interesting doe the file have the text? as this is on the Creative Tools model is @0.2mm deep so would have expected to see something. You can check this in Cura in preview after slicing and use the R/H slider to go up and down the layers to see how many layers have the text outline but no infill. Final trick is to watch the printer do the first few layers is the nozzle scraping the bed or just above such that the filament is can deposit onto the bed in clear lines.
Oh and body shells are well worth the effort as you can create your own custom versions that no one else has.
Cheers
John
Mr Fit for Function.
Posts: 984
Threads: 112
Likes Received: 1,307 in 493 posts
Likes Given: 1,247
Joined: Apr 2019
Location Cambridgeshire
PVA on my new bed ??

Nope.
It printed the letters on at the start (learnt from various sources that the first layers are crucial, so I watch the first 5 mins minimum, then check in every 15 mins as its all new to me).
They seem to have got lost later, I thought maybe the bed temp was to hot and melted it, as well as made it hard to remove, but lowered it from 60 to 57 on the next print, that didn't stick so aborted and put back to 60, the second reprint outline came off better though it also lost some 0.7mm holes.
I made a mistake on my second print, but as its a prototype and I need to do some fine adjusting, that wasn't an issue for me.
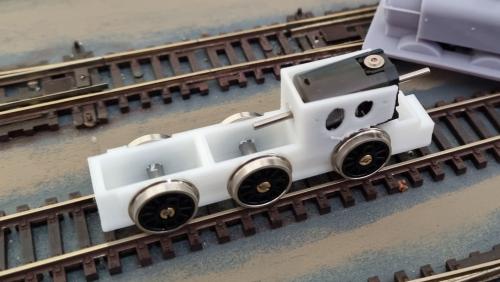
Print of my WIP loco chassis:
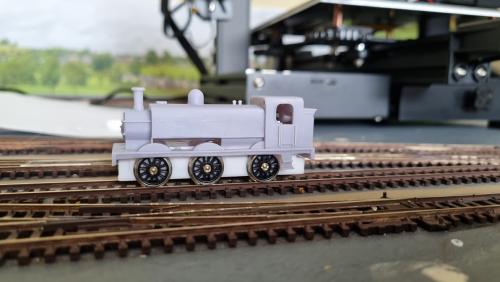
With the very nice resin print body I bought:
(This post was last modified: 9th-May-23, 10:13 AM by
Savage GT.)
Posts: 554
Threads: 32
Likes Received: 817 in 363 posts
Likes Given: 197
Joined: Dec 2020
Location burnley UK
personally i never was a fan of the flexible bed plate
i did try them at the beginning but now use a glass one
i find it much easier to level correctly , and once levelled it doesn't move ,and therefore much less time spent re-levelling
but patience is the key when removing prints from a glass bed , i leave mine for atleast 1/2 an hr , you can actually hear the print releasing as the bed cools , after the 1/2 hr the print isn't attached at all , its just sat on the bed , great for a perfectly flat chassis
Kev
Posts: 4,502
Threads: 147
Likes Received: 3,052 in 1,810 posts
Likes Given: 4,195
Joined: Apr 2019
Location Isle of Man
'levelling' depends on your printer, Prusa's auto level before every print.
Life is like a box of Slot cars...



